Super sharp shooter 🎶
Who remembers the days of clicking away on those wind up disposables with that leviathan 10lber that you had been dreaming of catching for so long. The anticipation as you wait for the photos to be developed was something quite magical. You open them up, only to find your mate has chopped off your head or missed focus completely. I’m sure we’ve all been there.
Fortunately in todays digital era it’s within the grasp of everyone to get amazing shots that capture those memories of that fish of a lifetime.
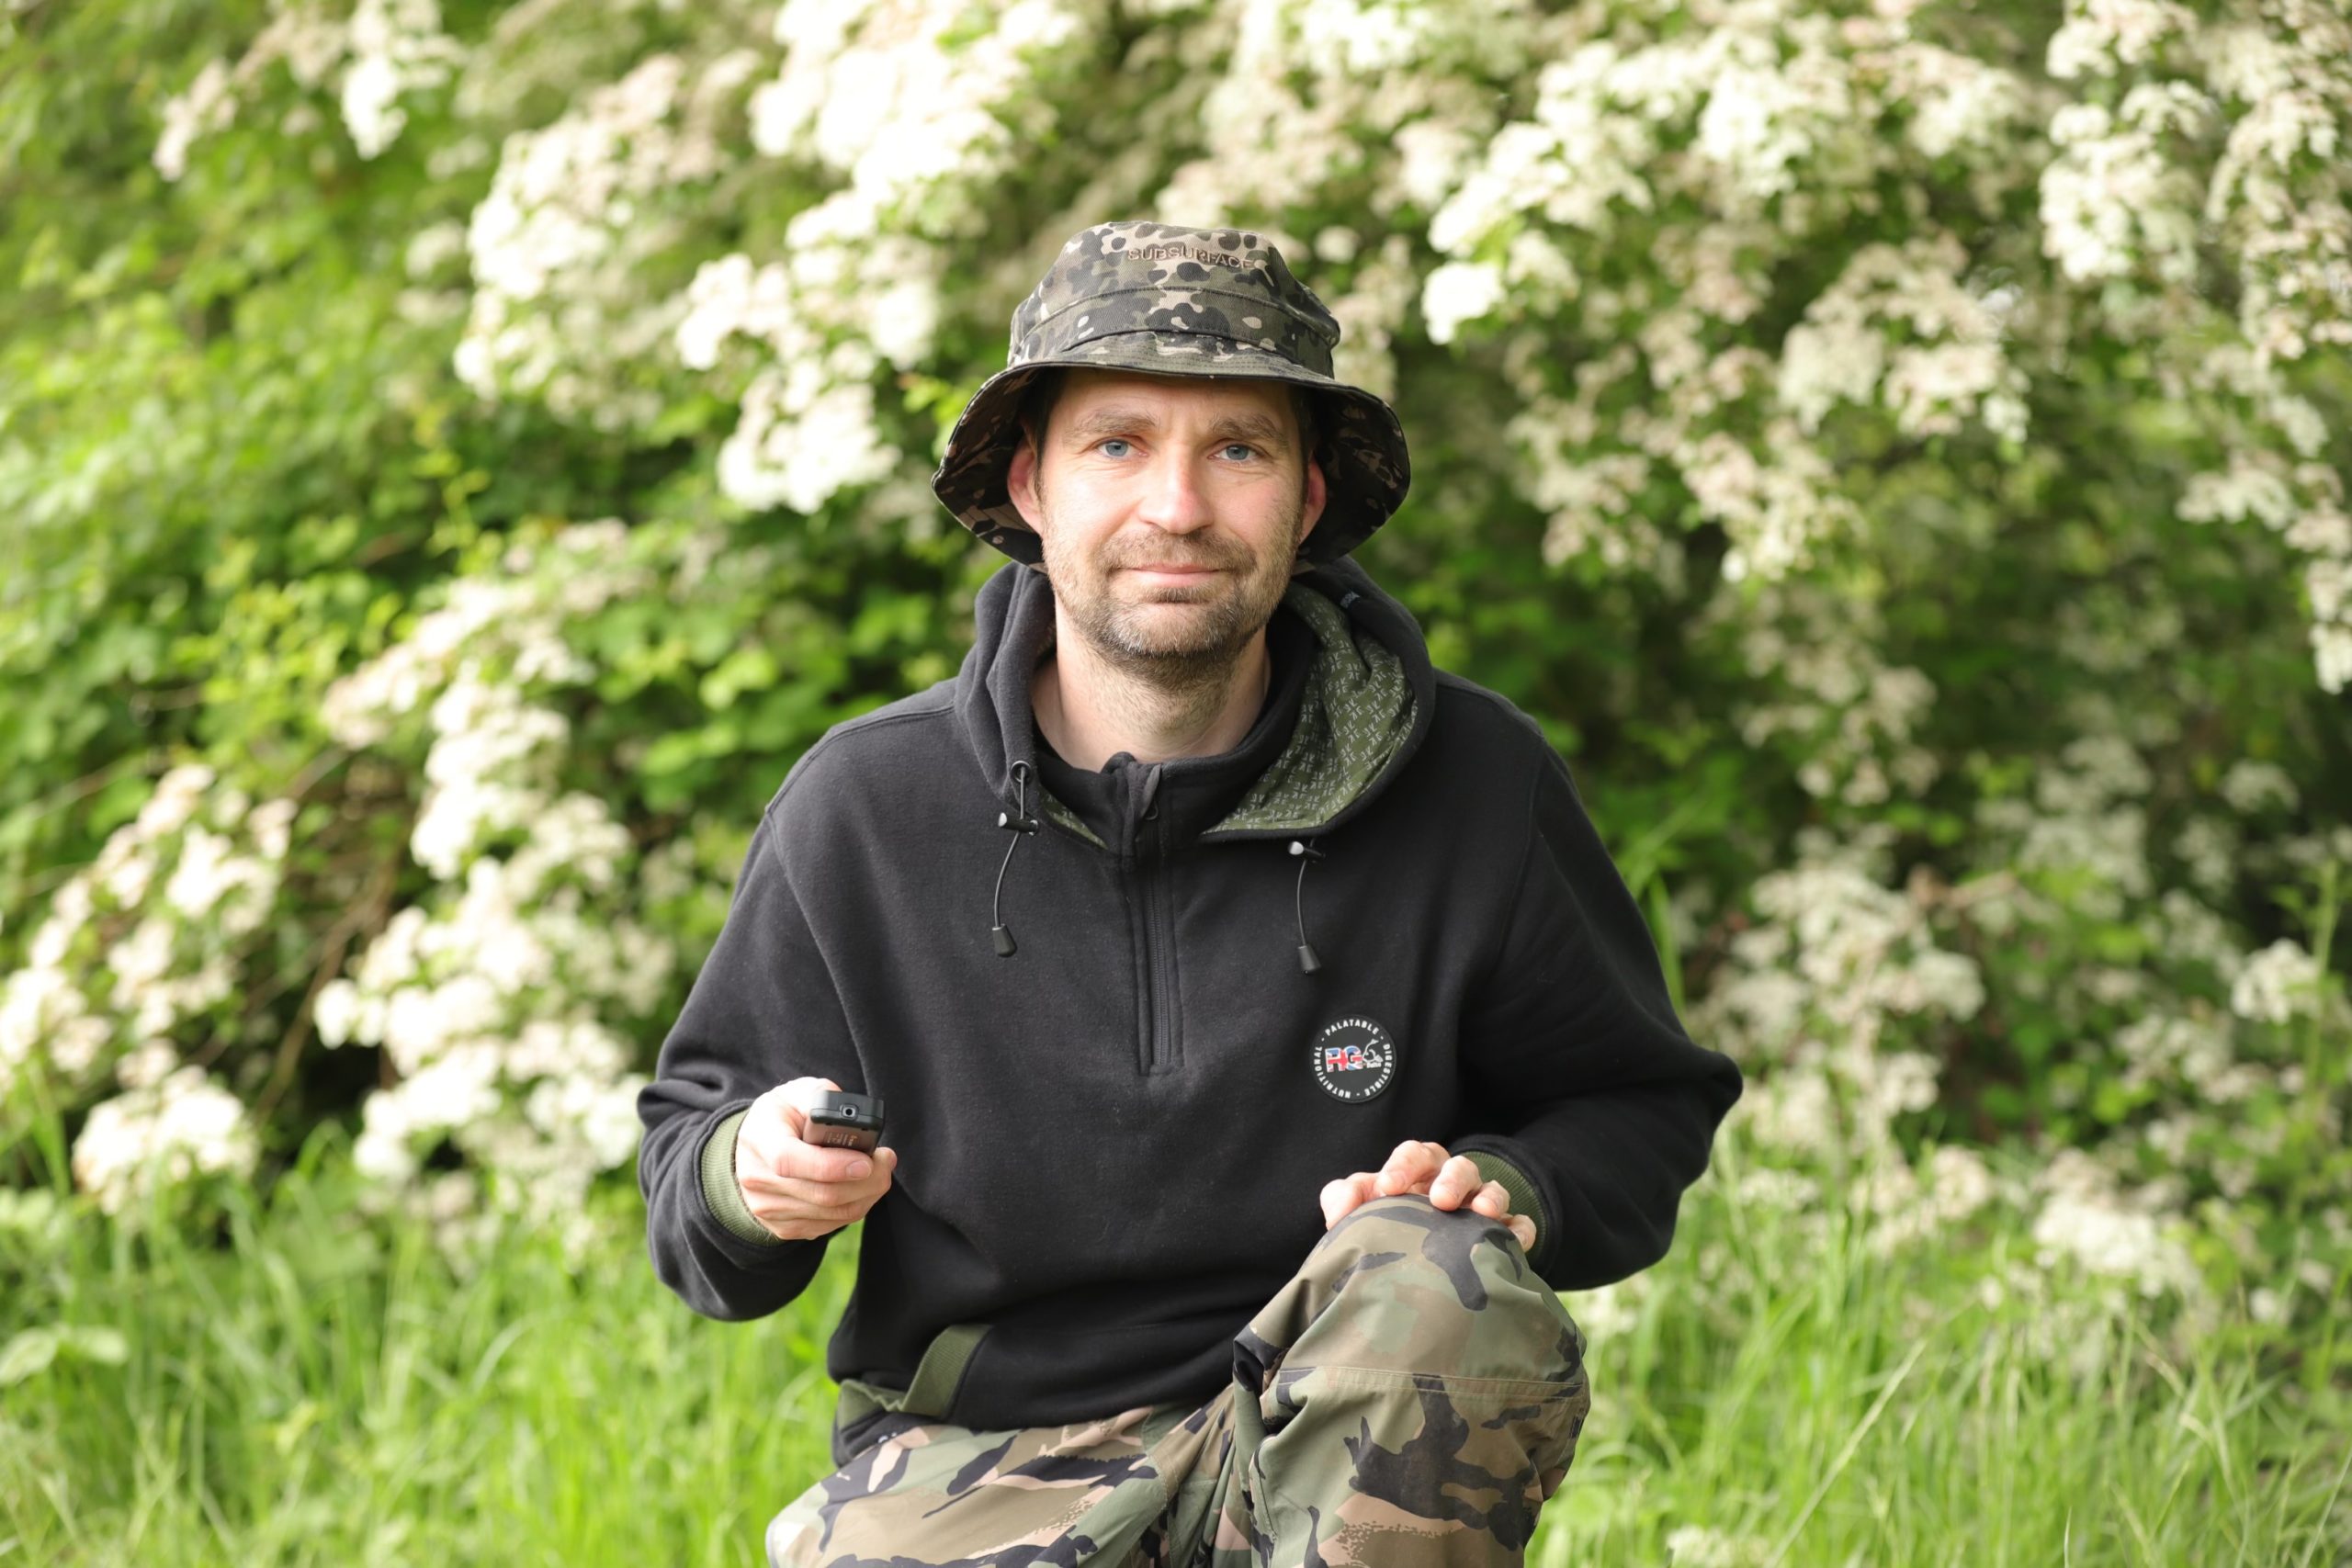
First and foremost you’ll need the tools of the trade, a camera. Whatever your budget, always buy the best camera that your can afford, whether that be new or second hand, DSLR, bridge or mirror less. An ethos I try and apply through all things in life by learning the hard way, buy cheap, buy twice as they say.
Be brave, switch that dial to manual and gain full control of every aspect of how your image will look. It’s actually easier once you know what you’re doing. Auto mode just isn’t the one, as the camera will dictate how the image will look rather than yourself. In auto you will struggle to get consistent exposure and lighting throughout your shots as the camera makes small adjustments every time you focus.
I like to think of manual mode as a triangle of settings that interact with each other to create the overall image. You have your aperture, shutter speed and ISO. By changing these in various ways you can dictate exactly how your image will look.
Let’s break it down. Start off by setting the aperture. This controls the amount of light entering the camera. Generally, for the majority of catch shots I would set my aperture to f3.5 or f4 as this will give enough depth of field to keep you and the fish pin sharp whilst giving a nice “blurry” background (bokeh). Anything lower than that and you will probably struggle to keep both you and the fish sharp. Anything higher and you may struggle to get enough light for those early morning shots.
With the aperture set, I would then play around with the ISO and shutter speed. Generally you want to keep your ISO as low as possible. The closer to 100 you can get the better, as this will result in less noise and graining in your images. This will vary with every situation, particularly in lower light conditions when you will likely need to crank it up to maintain a sharp, well exposed image.
The shutter speed can now be adjusted to suit both the aperture and ISO. If your viewfinder has an exposure meter this will make this whole process far easier as you can see if the shutter speed needs to be faster or slower to correctly expose the image. I find with catch shots if you aim for 1stop underexposed this normally gives a great result, giving a nice level of contrast without over exposing any details. A rule of thumb is never to go slower than the focal length of the lens you are using, ie if you are using a 50mm lens never go slower than 1/50 for your shutter speed as your images will likely suffer from motion blur. A safe bet is to go a couple of clicks faster than this as a minimum.
If you reach this minimum threshold in low light conditions and the image is still under exposed then it’s time to crank up the ISO to compensate. Obviously the faster you can get your shutter speed the better, as this will result in less motion blur and pin sharp images. For example, in super sunny conditions you may have a shutter speed of 1/1200 and an ISO of 100 giving super sharp images every time, whereas in lower light conditions you may have a shutter speed of 1/80 and an ISO of 600 to maintain exposure and overall sharpness.
Before you can get those camera settings dialled you need to pick somewhere to take the shots. Ideally you need somewhere that is well lit with even light. Try and avoid dappled light as this can play havoc by casting shadows in some areas and bright light in others. If your white balance is in manual make sure you set it to suit the conditions, ie. Sunny, cloudy, shade etc.
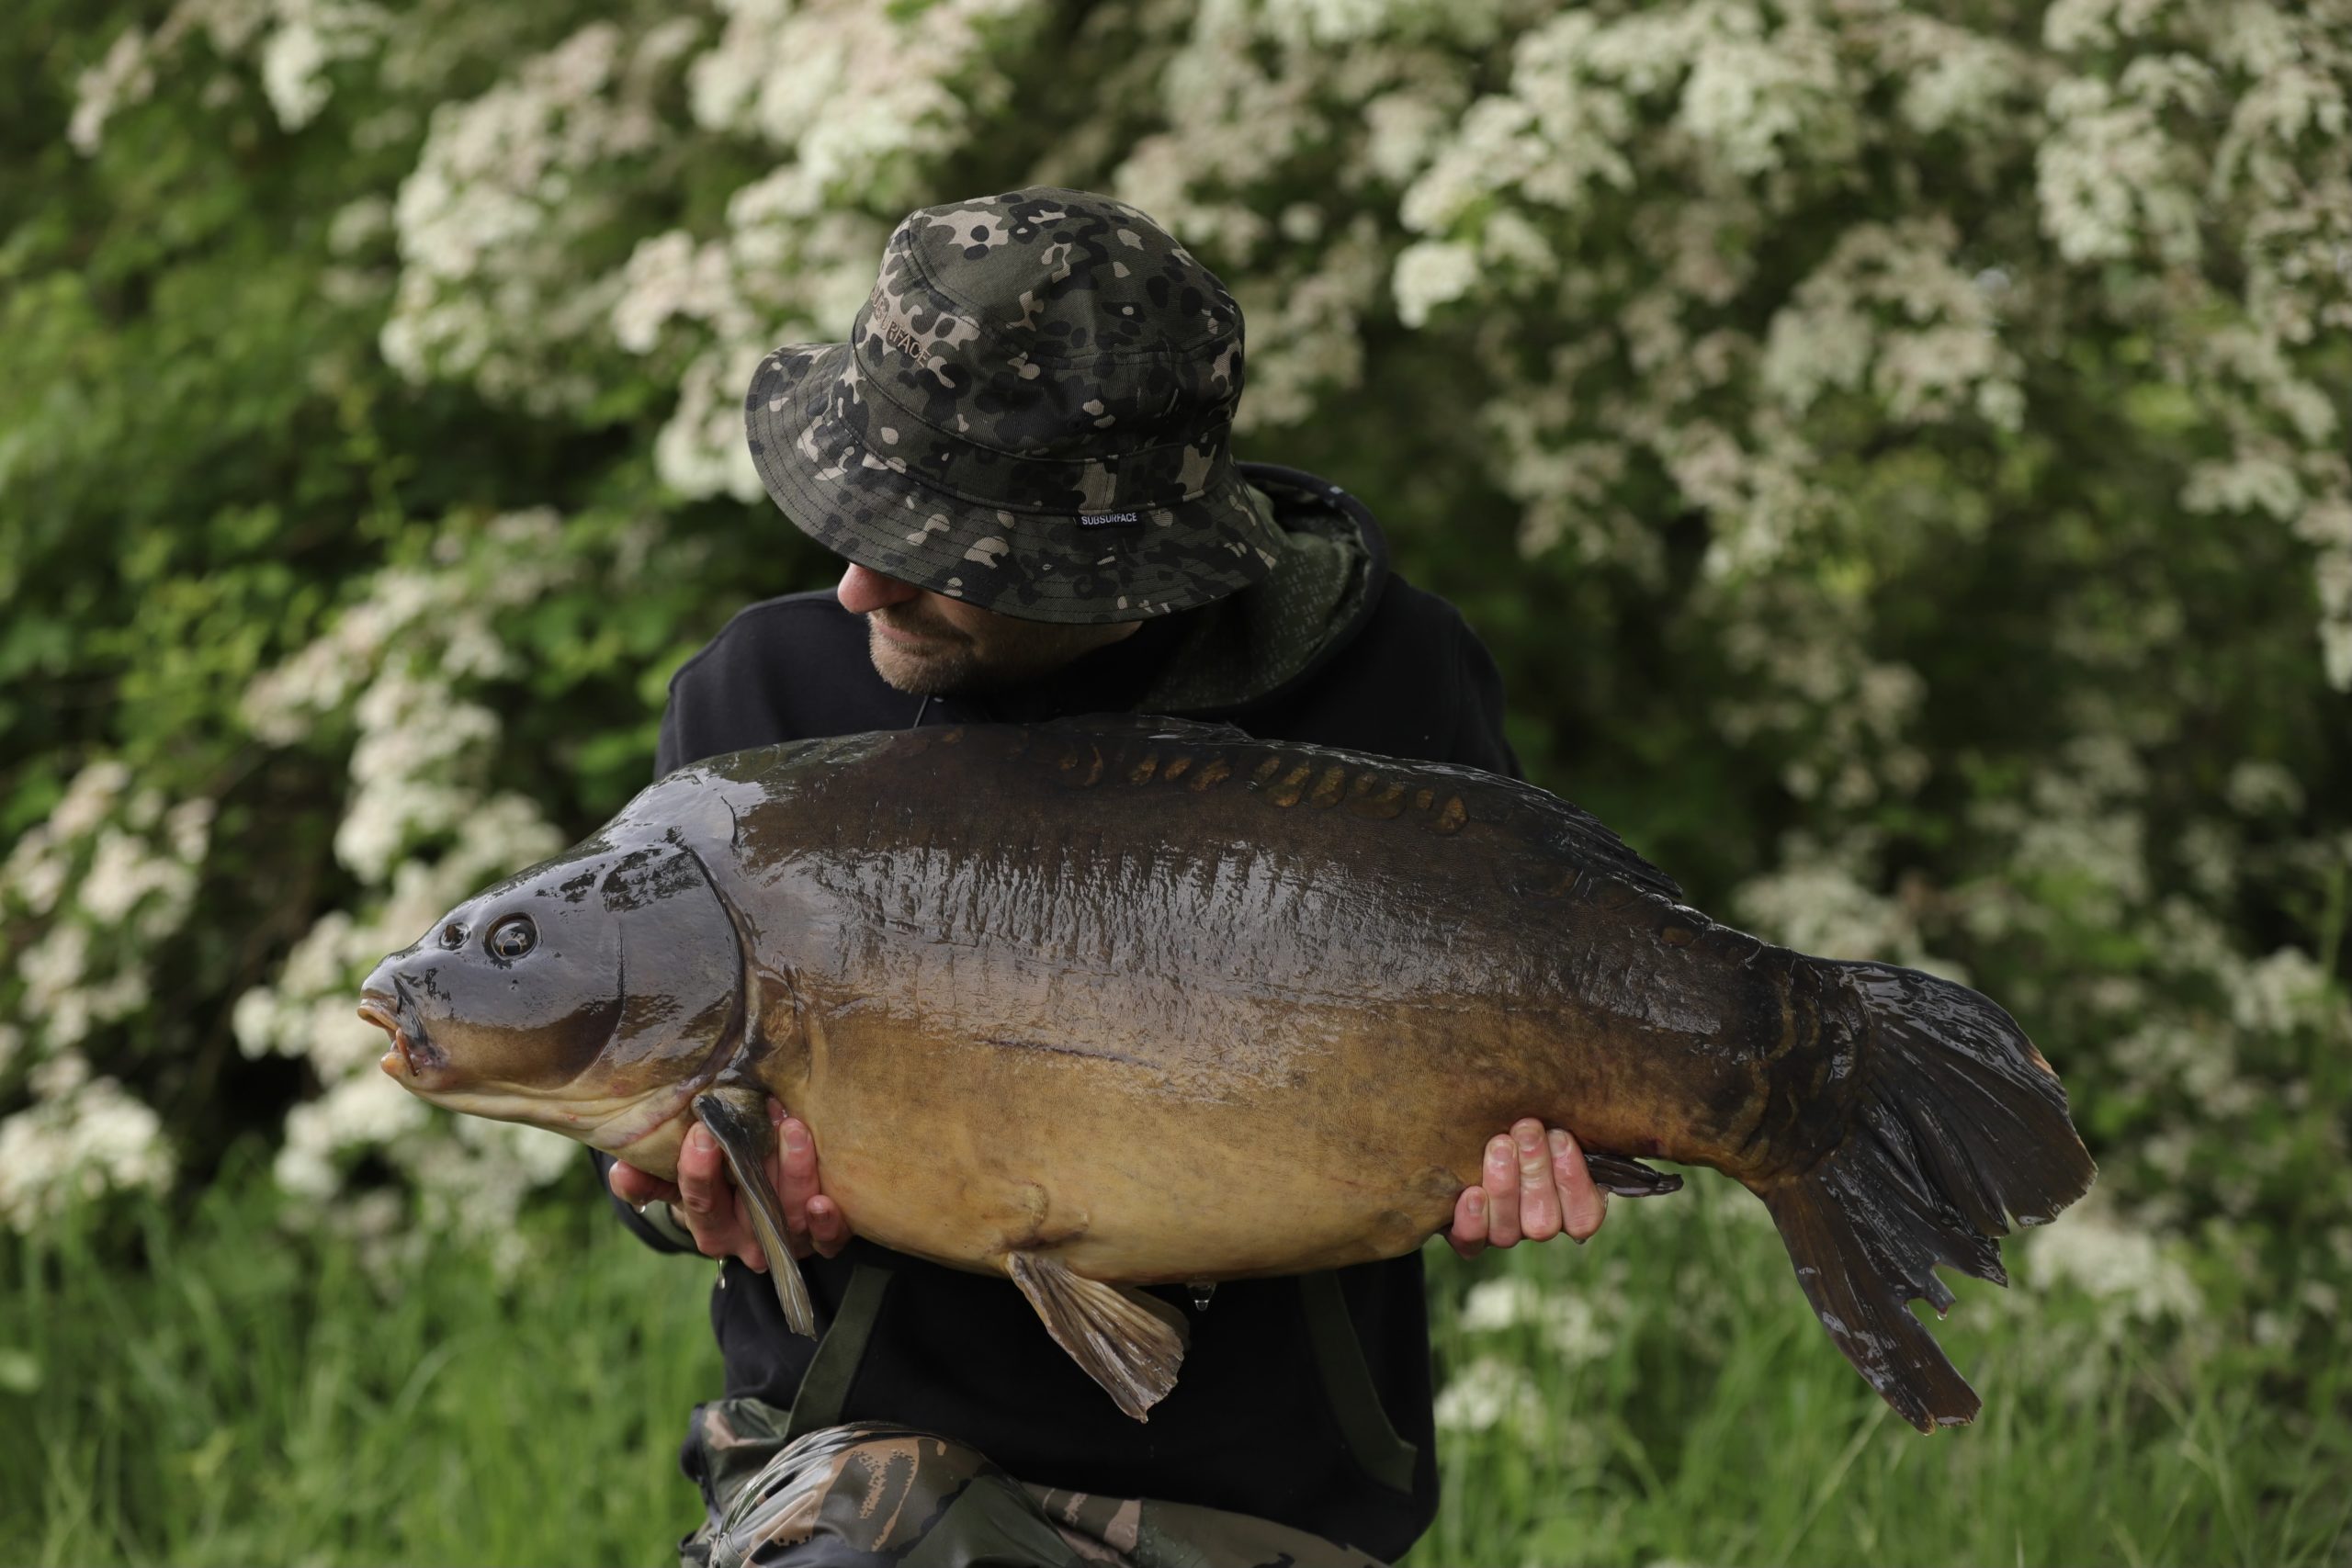
Let’s talk composition, this can be the difference between a good image and a great image. I always try and pick a backdrop that will enhance my image. It may sound daft but this can really elevate the overall result. This isn’t always possible of course, but if there’s something interesting there, use it to you advantage. Try and avoid having buckets, bivvy’s, fences etc in shot. Take a few test shots until you are happy with the backdrop and lighting. I then try and place myself within the chosen area, moving the unhooking mat around to give the desired result. If you can create some distance and separation between yourself and your backdrop this will help give that lovely smooth background that will help isolate you and the carp in the image.
It goes with out saying that this whole process is done before the fish is taken out of the water. The fish should be on the bank for the shortest possible time so take plenty of test shots to get those settings right before the fish is hoisted ashore.
Without going too in depth, hopefully these simple tips will help you improve your catch shots. Obviously there are no generic settings that will give you amazing results every time, each situation will require you to play around and make adjustments. This is the beauty of photography though, so set that camera to manual and play around to your hearts content to unleash your inner Super Sharp Shooter.
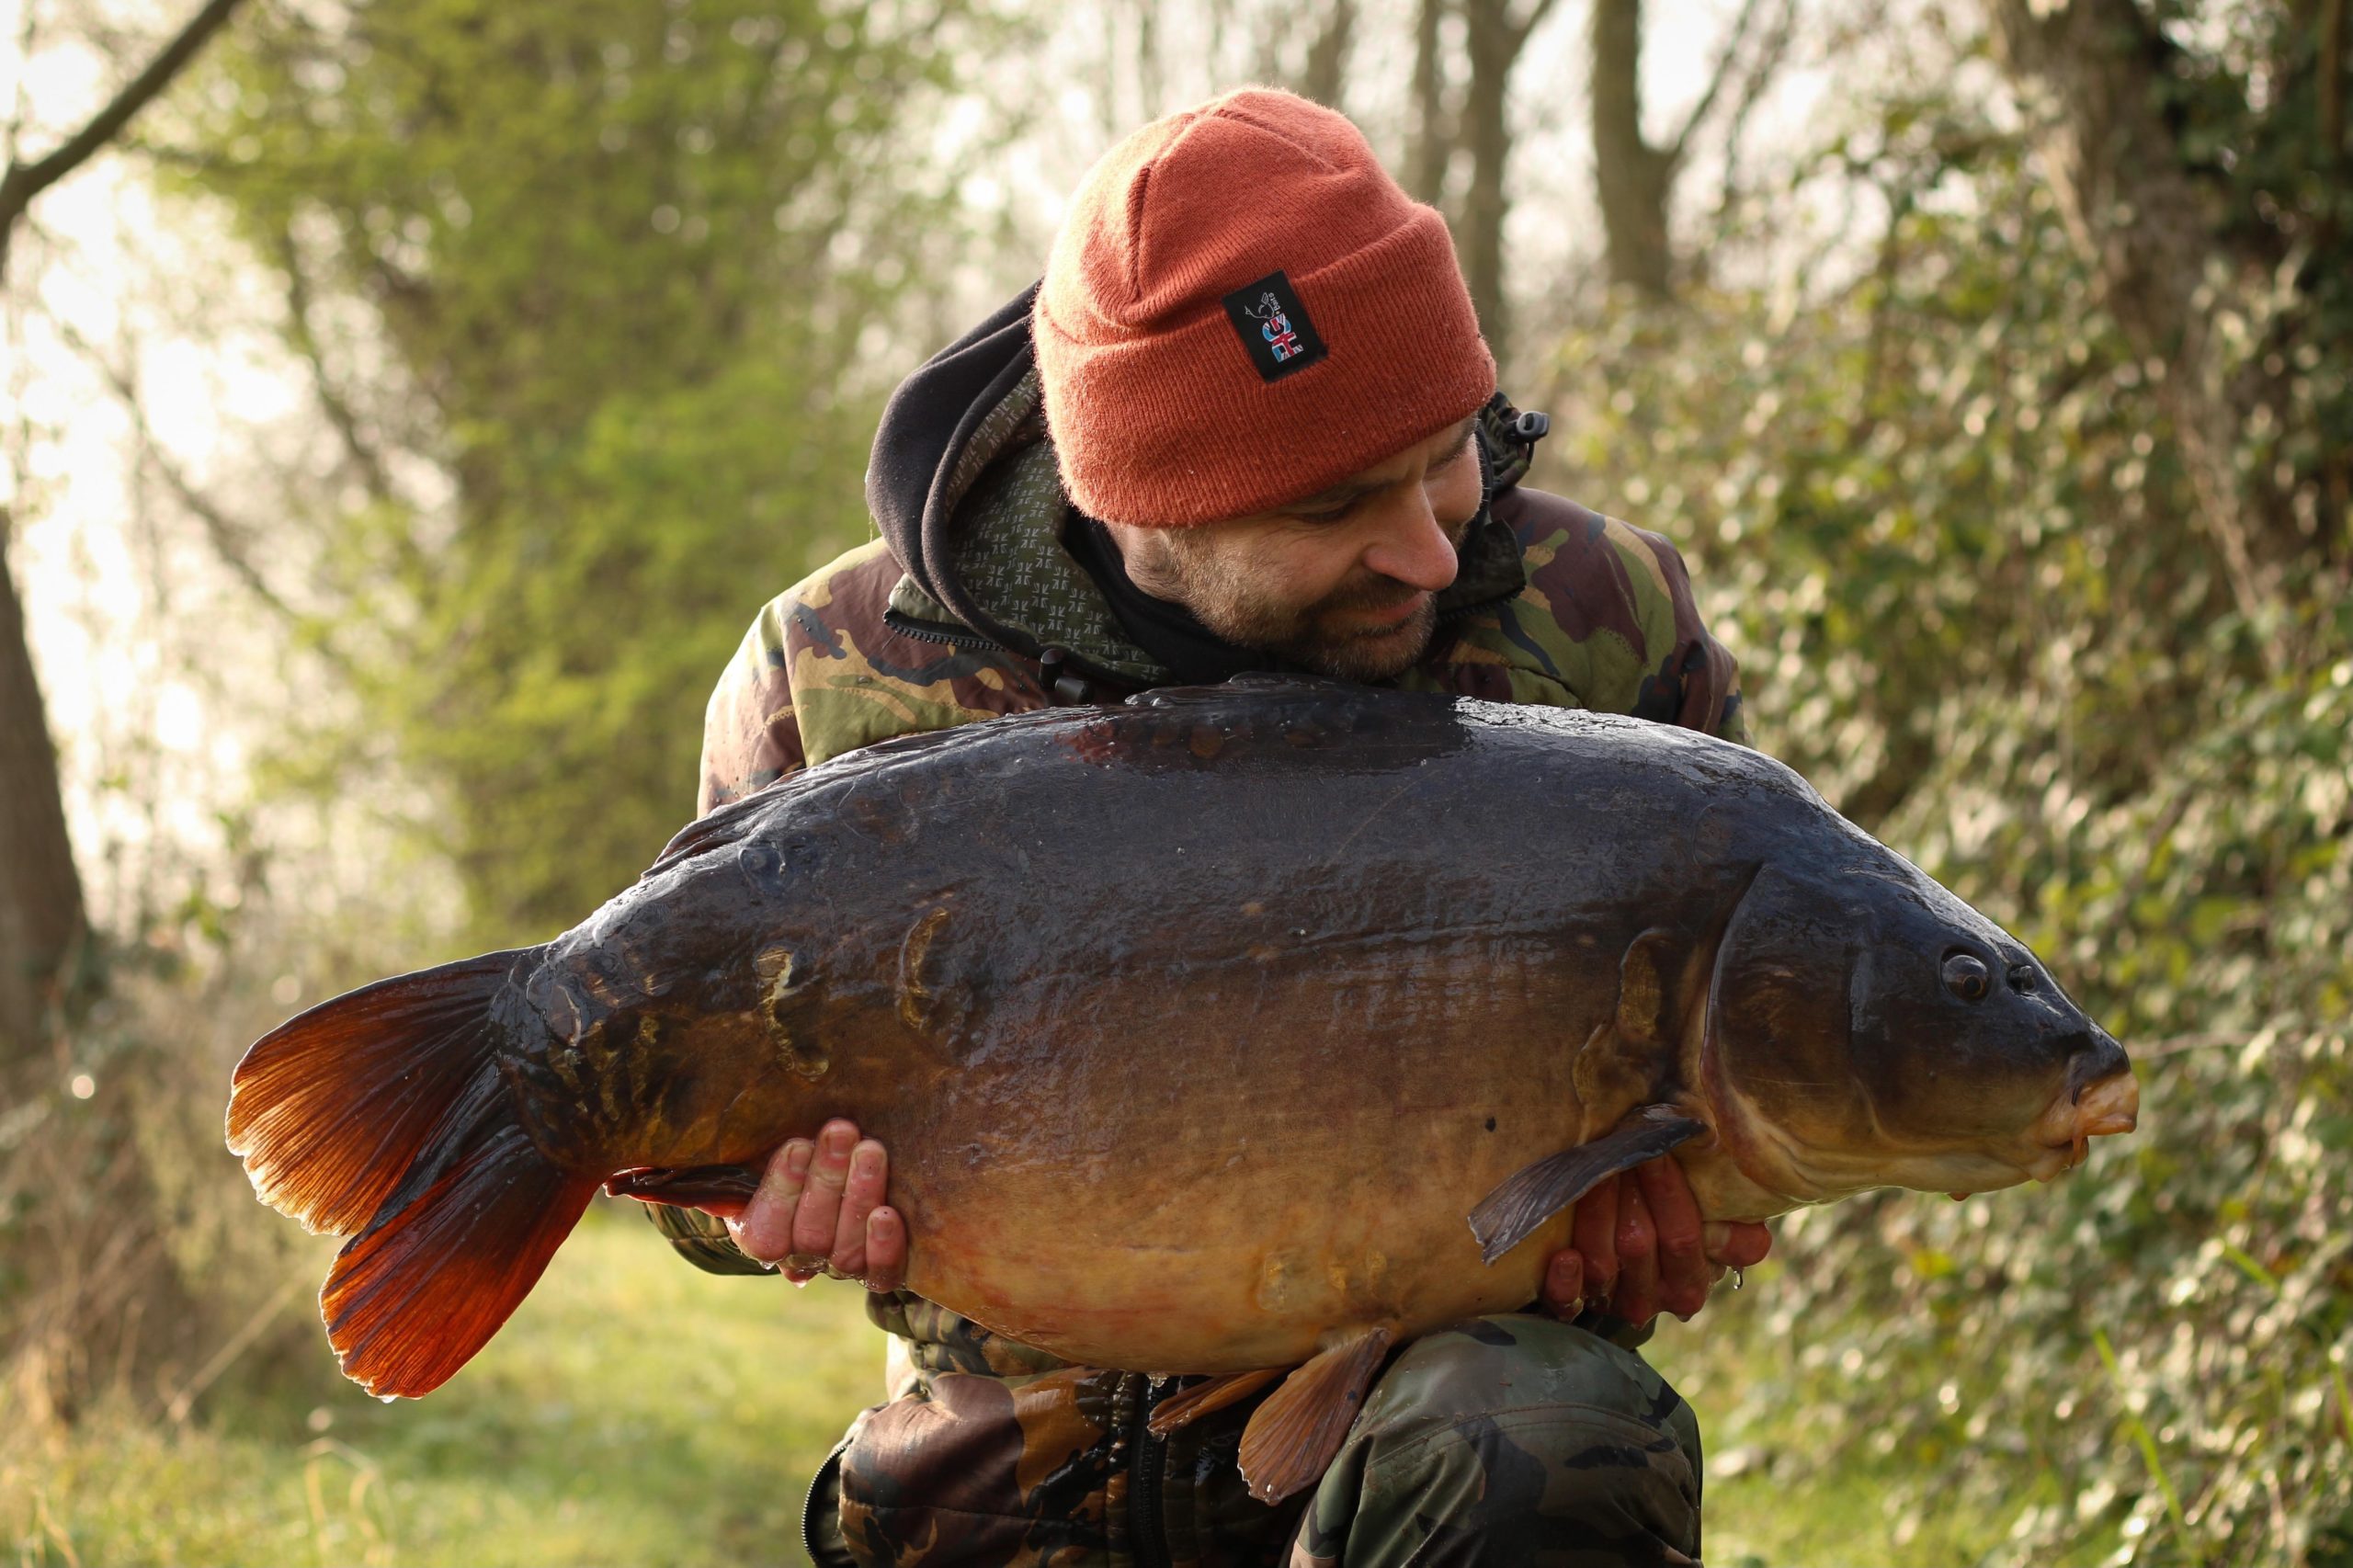

f3.5 ISO 100 1/200s
Under exposed settings f3.5 1/160th ISO 250
Over exposed settings f3.5 1/60th ISO 500
Correct exposure f3.5 1/80th ISO 250